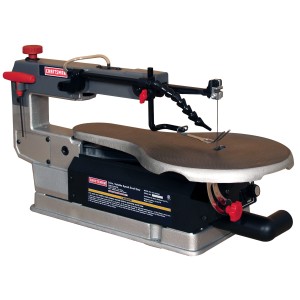
A scroll saw is a convenient and versatile tool that does fine cutting work using fine blades under tension. It is actually the best saw for making precision cuts in wood, metal and plastic. You may find the saw to be a bit complicated to use at first. However, by following a few simple instructions, you can use it quite simply. Read on to find out how to use a scroll saw.
1. Safety first
Although scroll saws are one of the safest cutting tools available, it is important to always observe some basic safety procedures. Wear safety goggles to prevent eye injuries which may occur from sawdust and broken blades. Wear a dust mask and a hat to cover or hold back long hair.
2. Prepare the workpiece
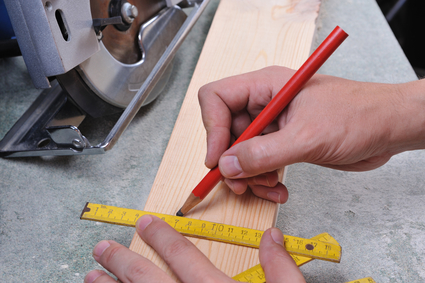
Cut the wood, plastic or metal to the required size. Next, draw your own design onto the material or transfer the patterns you want to cut onto it. Ensure the marked lines are clearly visible.
3. Prepare the scroll saw
Before use, the scroll saw should be firmly bolted to the working surface. Install the right blade for the pattern and material to be cut and make sure it firmly fits onto the saw. Make sure to tension the blade properly, a properly tensioned blade will not deflect more than 1/8 inch from front to back under moderate pressure from your finger at the midpoint. If the blade is not tensioned properly, it will decrease performance of the saw. Turn the saw on. If the scroll saw comes with a light, turn it on as well. If it doesn’t, you’ll need to look for a source of strong light and position it near the table so as to see any fine detail clearly. If the saw has a dust blower, turn it on so as to blow away dust and keep a fine line for you to follow as you cut the pattern out. To test the saw to see if it is working properly, take a piece of scrap wood and make a short cut in it.
4. Start cutting
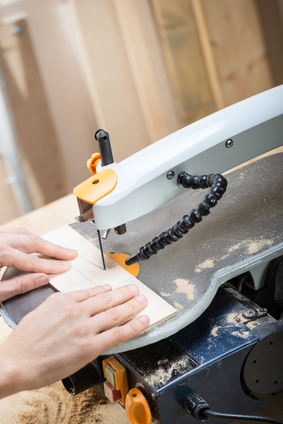
Set the speed of the scroll saw for the material you want to cut. The harder and thinner the material, the slower the speed you should use. Hardwoods for instance need a slower speed than softwoods. Metals require the slowest possible speeds. After adjusting the speed, direct the blade toward the first line to be cut. Use both hands to guide the workpiece into the blade. Move the work through the blade using forefingers of both hands and one thumb. The other fingers should be kept away from the cut line. Make sure you don’t remove both forefingers or one hand as this may cause the piece to jump or create a jagged cut. You should also not rush the piece through the blade as this may make your fingers slip and come into contact with the blade or may create crooked patterns.
When you reach a turning point and have to make a 90 degree turn, move the blade back through the cut line and remove the work from the saw. Insert the work from the beginning of the adjacent line and saw until you reach the point where it meets the first line at the angle. You can now move to the next line.
5. Finishing up
Turn off the saw after you’ve successfully completed cutting out the pattern. Remove the blade and unclamp the saw from the working surface.
Conclusion
The above instructions will help you find scroll saw projects to be fun and easy. Remember, practice makes perfect so keep on practicing and you’ll master the craft before you know it. If you are new to woodworking and wanting additional resources to help you become a better scroller, check out our post here on informative books to add to your workshop library.
 AIR
AIR